WriteRush lets you create engaging AI blog posts within minutes. Today, you’ll get a detailed step-by-step guide on how you can create your first blog.
- First, go to your WordPress Dashboard > WriteRush and click on the Blog module.
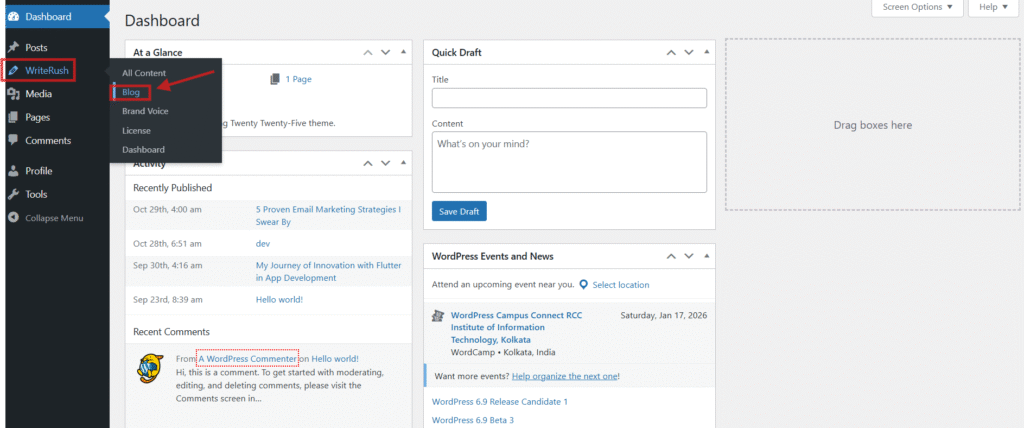
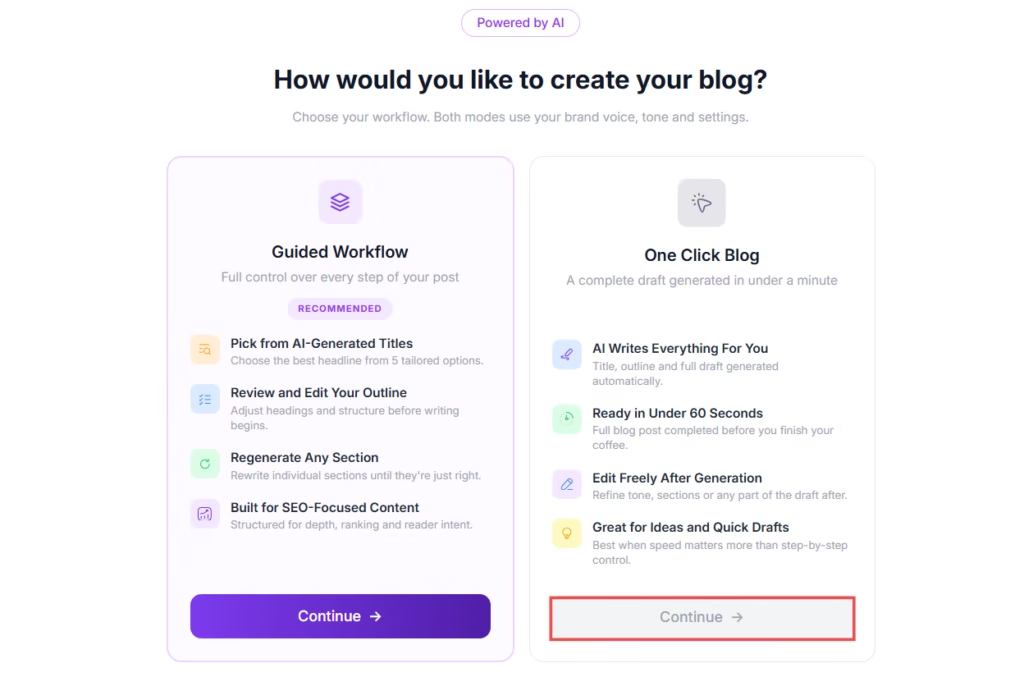
- Then you can choose your preferred blog generation style, ‘Guided Workflow’ or ‘One Click Blog.’
- If you choose “One Click Blog” as your blog generation style, you must first enter a topic or keyword. The keyword defines your blog, and once the blog is created, it cannot be modified. Please ensure you add the keyword carefully.
- Next, select the Blog Type (e.g., listicle, how-to guide, ultimate guide, comparison post, case study, etc.). You can also choose a Brand Voice profile if available. (If you haven’t created one yet, click here to learn.) [This is a pro feature]. Additionally, select your preferred Language.
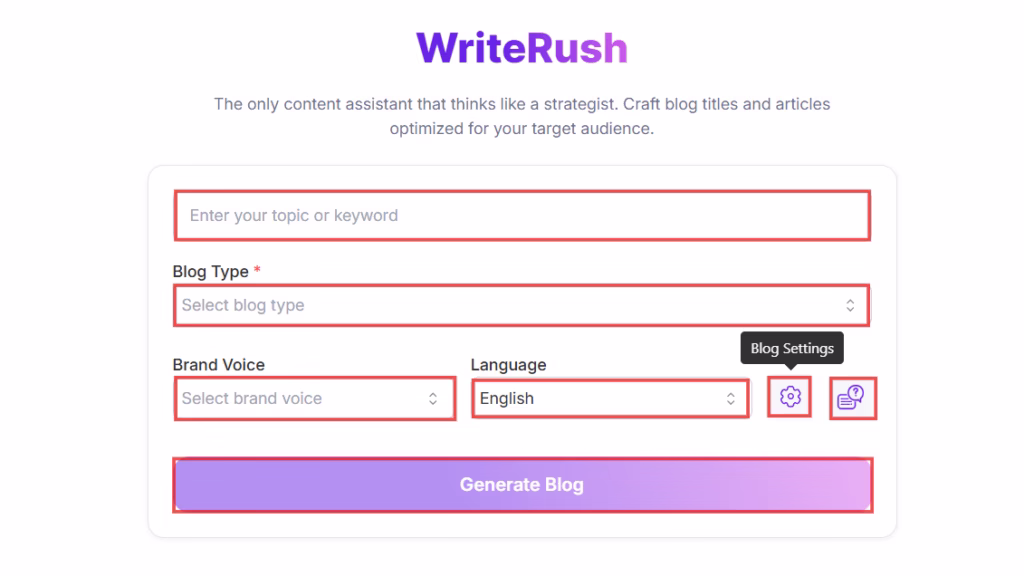
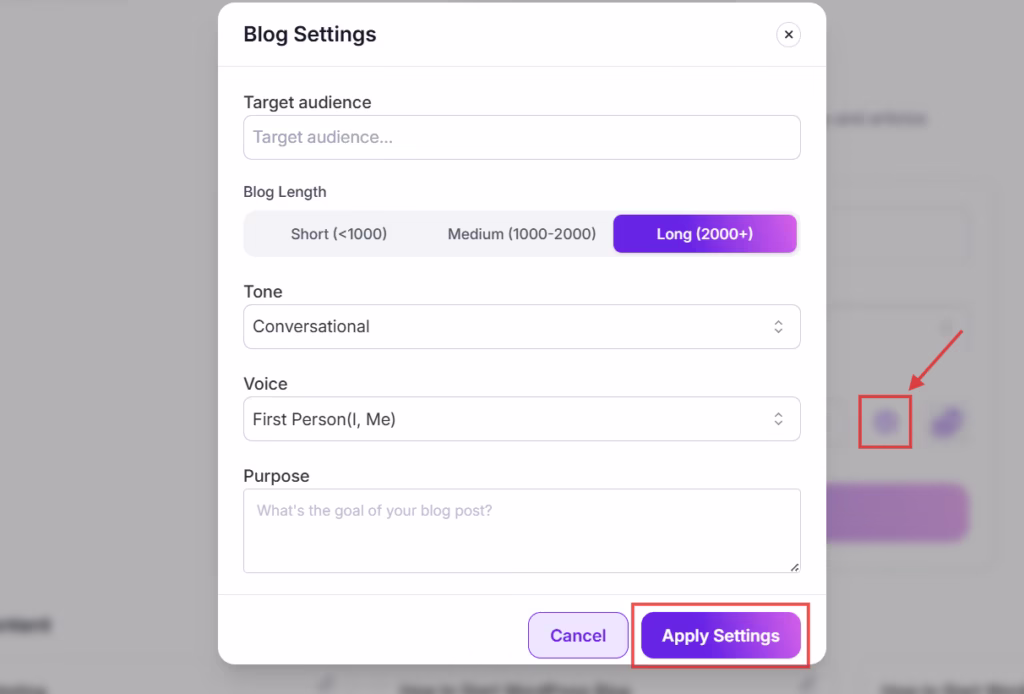
- Click on Blog Settings to define your target audience, blog length, tone, voice, and purpose. You can also use the Topic Analysis option to answer relevant questions, helping make your blog more focused, specific, and aligned with your target audience.
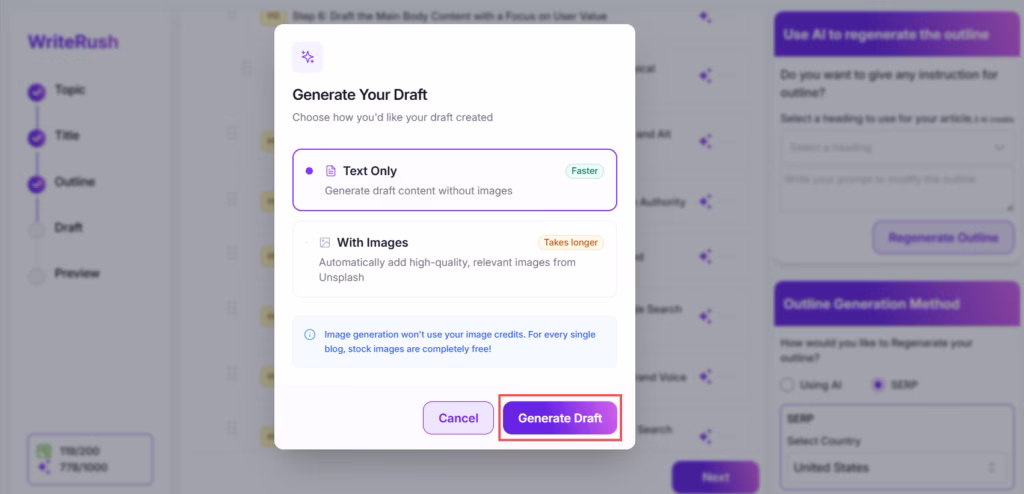
- After that you can click on Generate Blog button. Before generating the final draft, choose how you want your content to be created: Text Only or With Images. Select Text Only if you prefer a draft without images. Alternatively, choose With Images to include relevant visuals along with your content. Then, click Generate Draft.
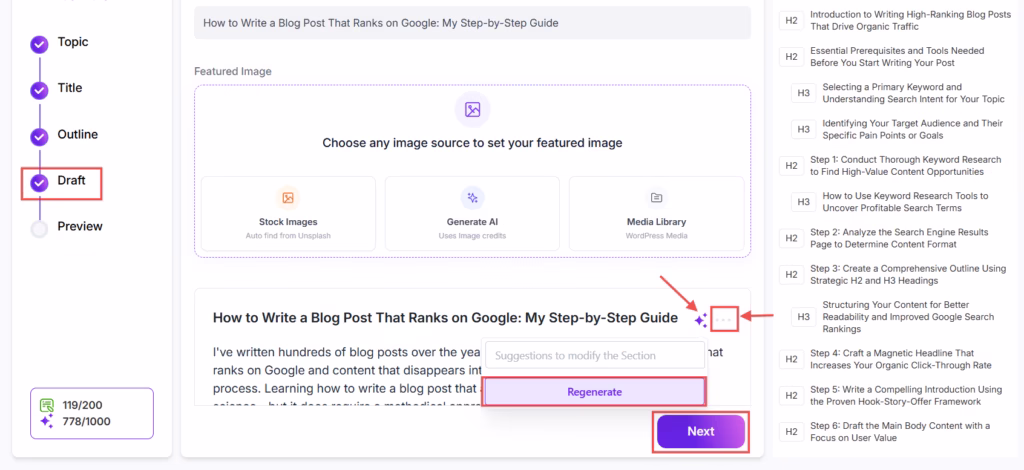
- Now, you will get your publish-ready Draft. You can edit and regenerate each section with a prompt.
Add Images #
Enhance your content by adding visually appealing images to your draft. Images help improve readability, engagement, and overall presentation. You can easily insert or generate images directly within the editor.
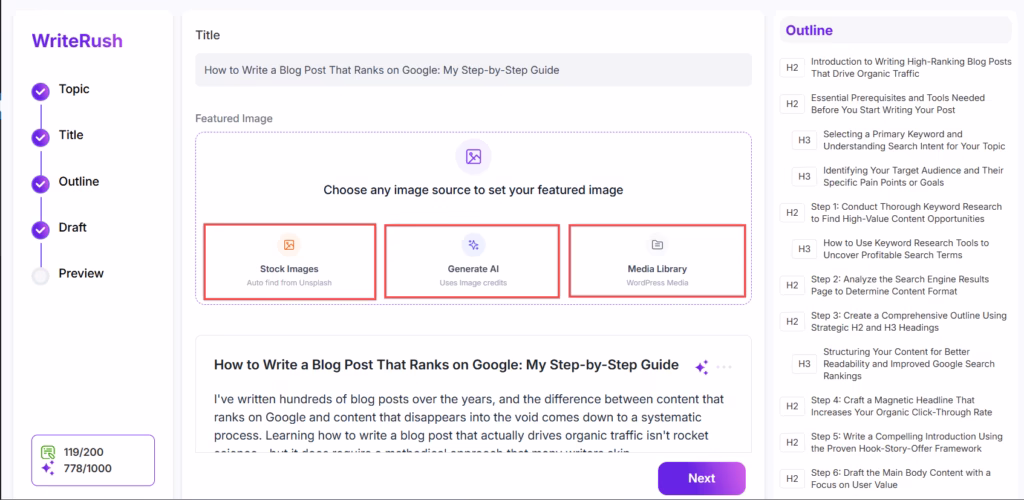
- Here, you have three different ways to add images. You can choose stock images from Unsplash, select images from the Media Library, or generate new ones using AI.
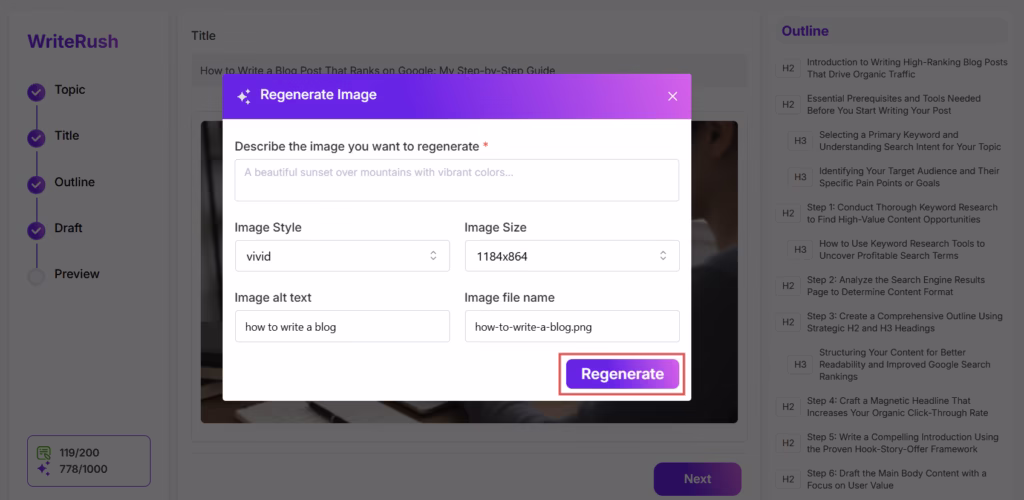
- To create an image, click the AI Image button, enter a short description of the image you want, and select the desired style and size. Next, provide the image alt text and file name, then click Generate to create your image.
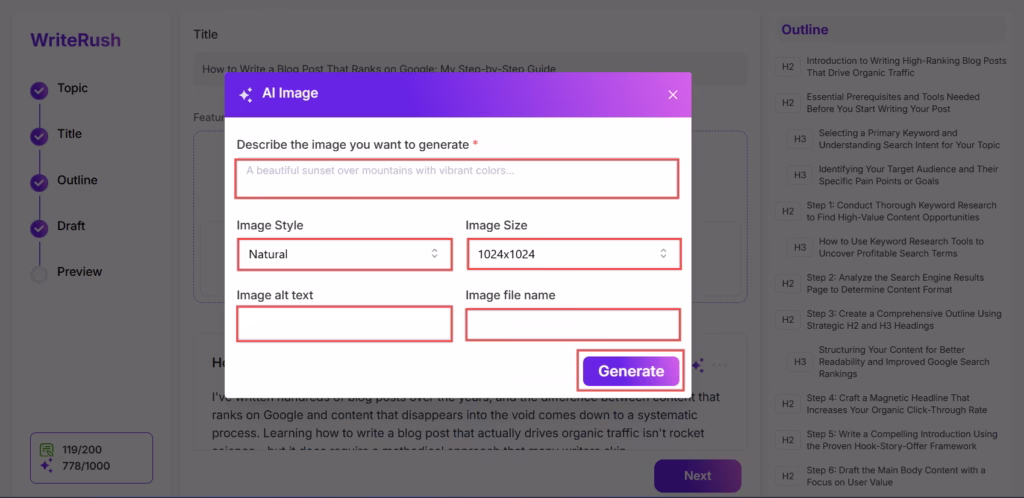
- If needed, you can regenerate the image as well.
SEO Score #
This feature helps you evaluate and improve your blog’s SEO performance with actionable insights. By analyzing key elements, you can quickly identify areas that need improvement and boost your chances of ranking higher in search results.
Follow the steps below to optimize your content effectively.
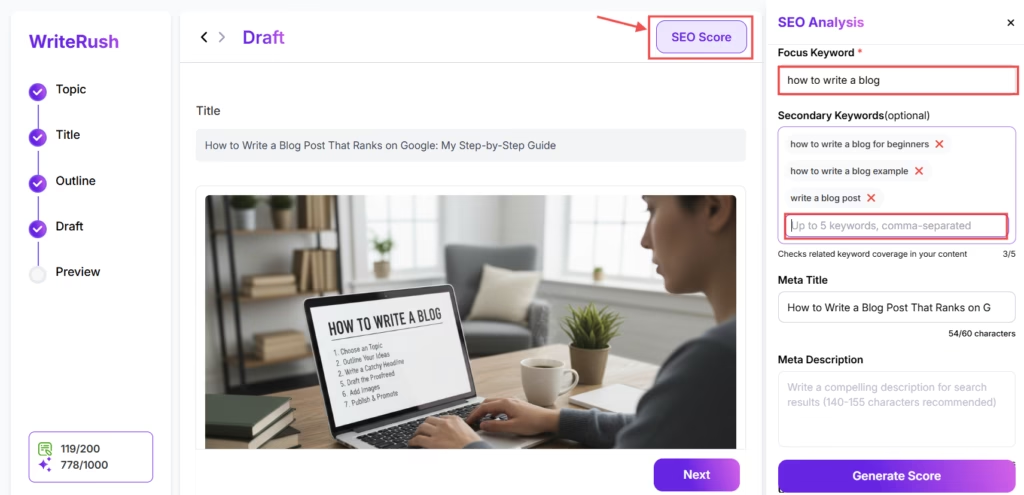
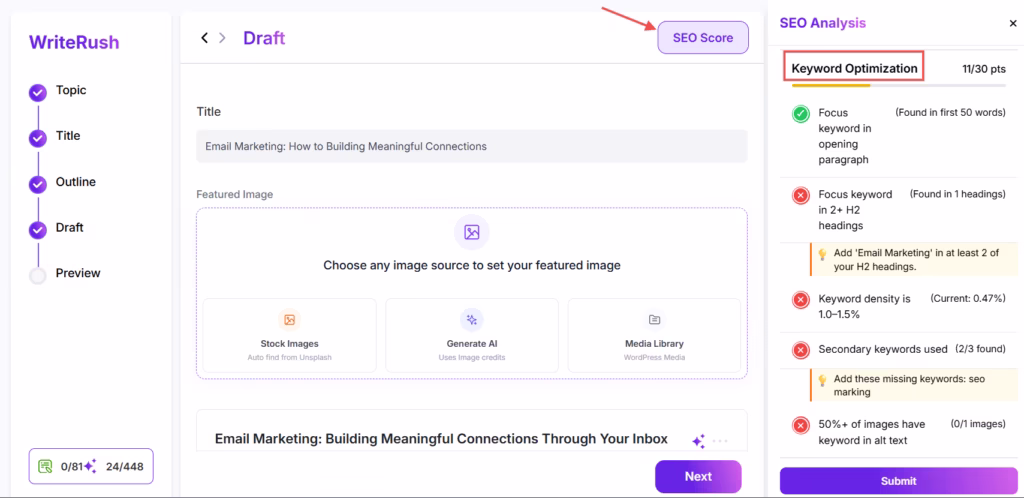
- Now you can optimize your blog using built-in SEO analysis. To begin, click on the SEO Score button. Enter your Focus Keyword, and optionally add Secondary Keywords for better optimization.
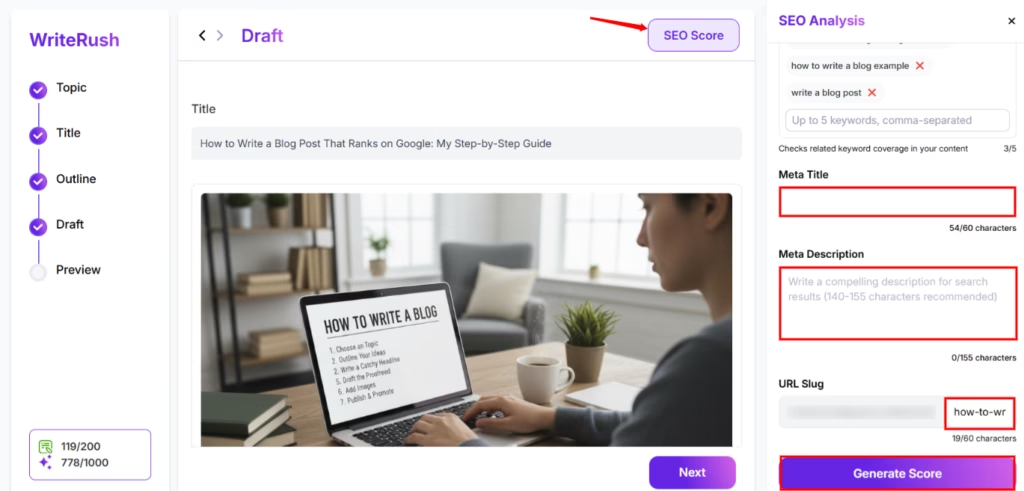
- Next, customize your Meta Title, Meta Description, and URL Slug, then click Generate Score to analyze your content.
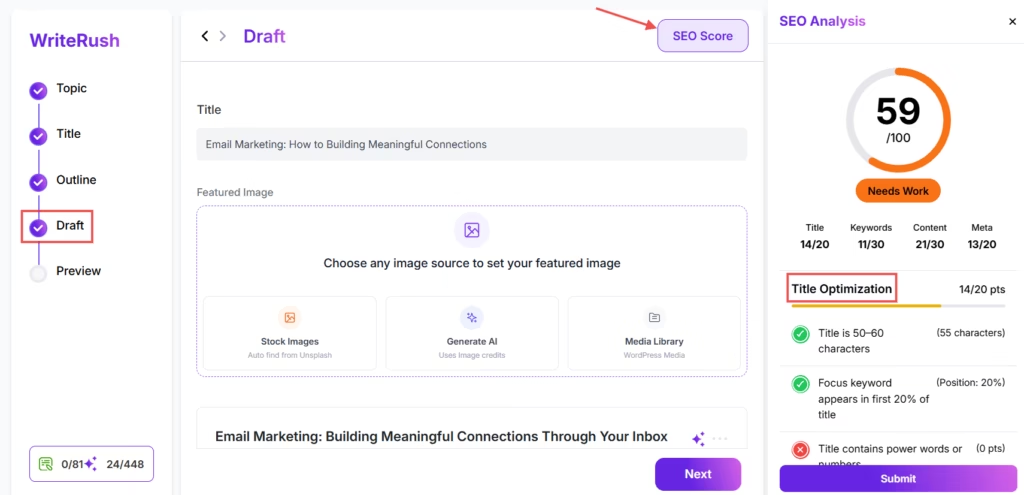
- You will receive a detailed optimization report. First, review the Title Optimization section and adjust your title if needed to improve your score.
- Then, address Keyword Optimization by following these best practices: include the focus keyword in the opening paragraph, use it naturally in H2 headings (where possible), maintain a keyword density of 1.0–1.5%, add secondary keywords, and ensure at least one image includes the keyword in its alt text.
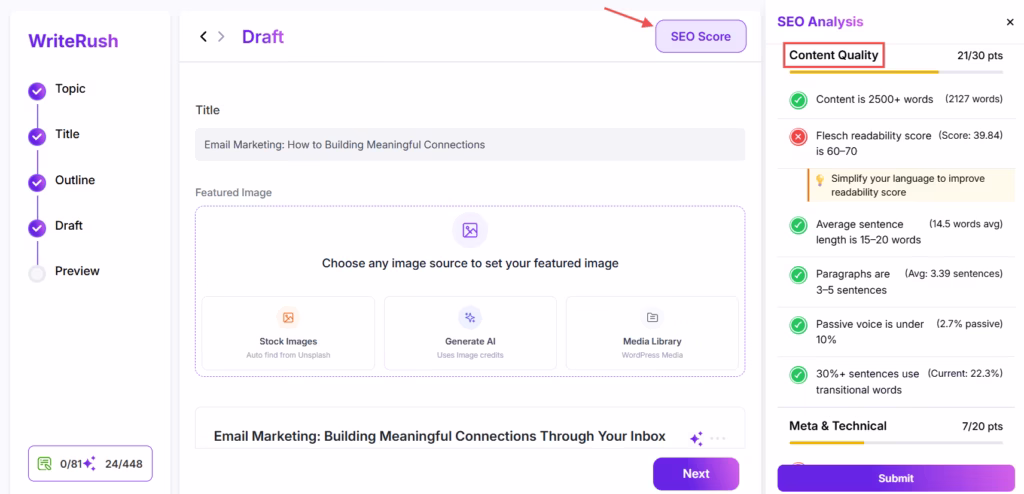
- You can also improve Content Quality by optimizing content length, readability score, average sentence length, passive voice usage, and transition word ratio.
- Finally, review Meta and Technical SEO factors such as meta description, URL slug, CTAs, use of lists, internal and external linking, image alt text, and maintaining at least one image per 500 words.

Finally, preview your draft to review the content. If everything looks good, click the Send to WordPress Draft button. Wait a couple of seconds until you receive a confirmation notification. Once notified, go to your WordPress Dashboard > Posts > All Posts, where you’ll find your drafted article. You can now make any final edits if needed and publish your blog.

## Please note that you can freely edit the outline, title, headings, subheadings, or sections. However, each time you regenerate an outline, title, heading, subheading, or section, allocated credits will be deducted per regeneration. ##


