With WriteRush, you can effortlessly create high-quality, engaging content that ranks well and converts readers.
In this guide, you’ll learn how to install and activate WriteRush on your WordPress site.
Activate the Free Plugin Version
Activate the Pro Version
How to Install and Activate the Free Version #
Follow the simple steps below to install and activate the free version of WriteRush.
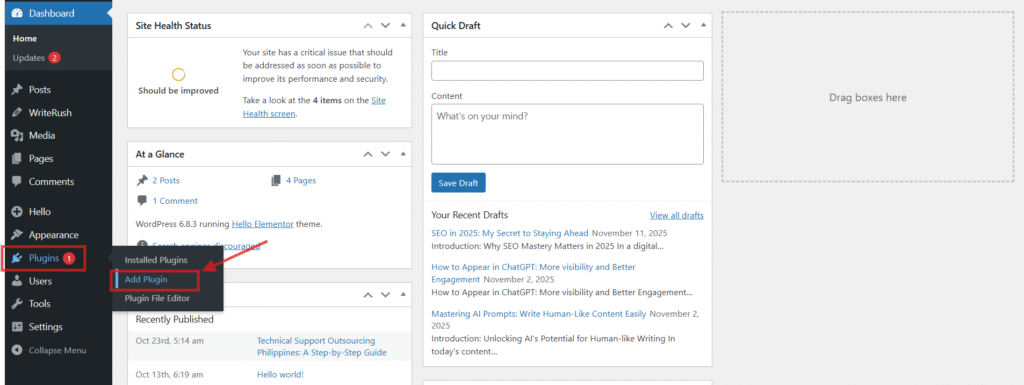
- At first, you need to download the plugin. You can download this plugin from your WordPress Repository. To download this plugin, go to your WordPress Dashboard > Plugins and click on the Add Plugin option.
- Search for ‘WriteRush’ in the search bar, and the plugin will appear in the results.
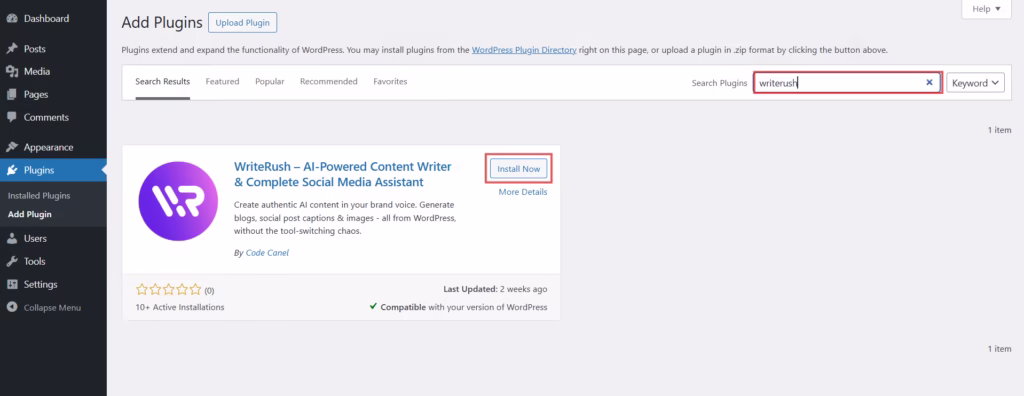
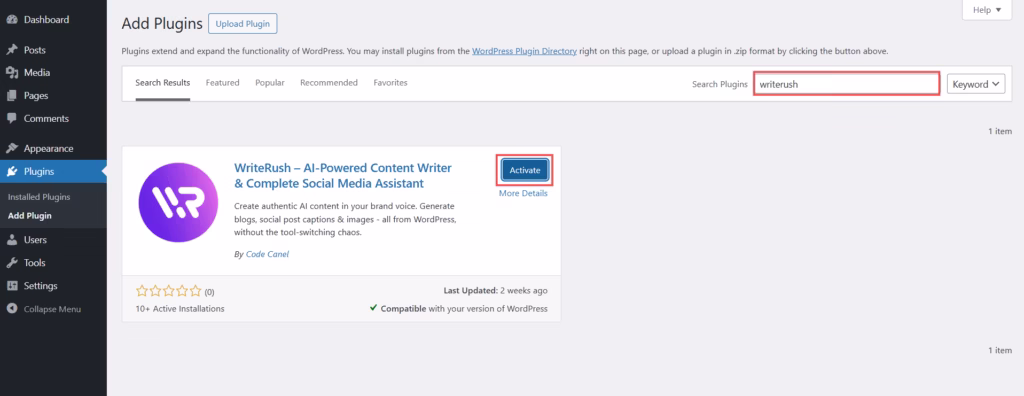
- Click on the Install Now button, then click Activate once the installation is complete.
- After activation, click on the Get Started button to connect your WriteRush account.

- You will be prompted to enter your Name, Email, and Password to link your WordPress site with WriteRush. Once done, click on the Sign Up button to proceed.

- Next, enter your website domain to generate your license key, then click on the Generate button.
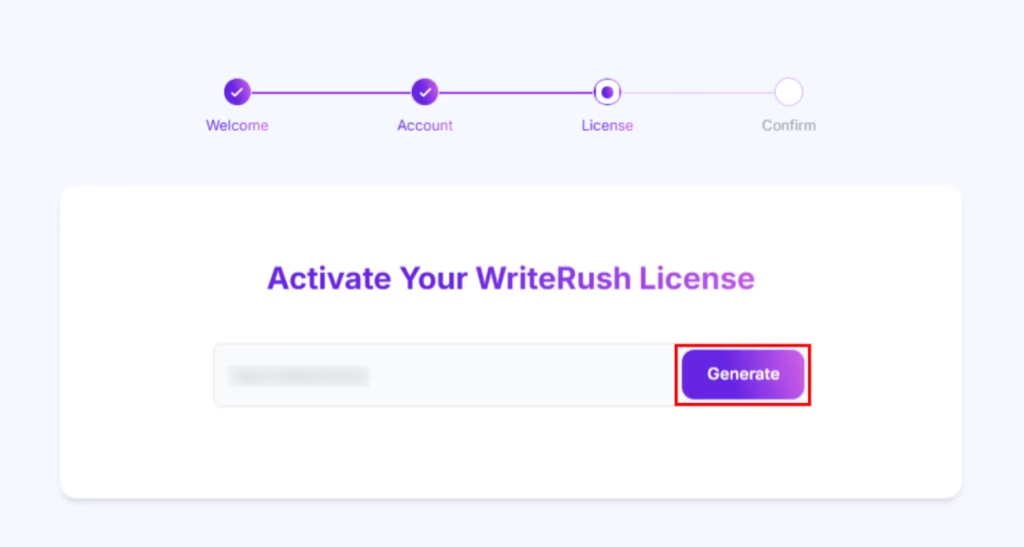
- Here, you will get your License key. Click on the Activate WriteRush button to complete the activation process.

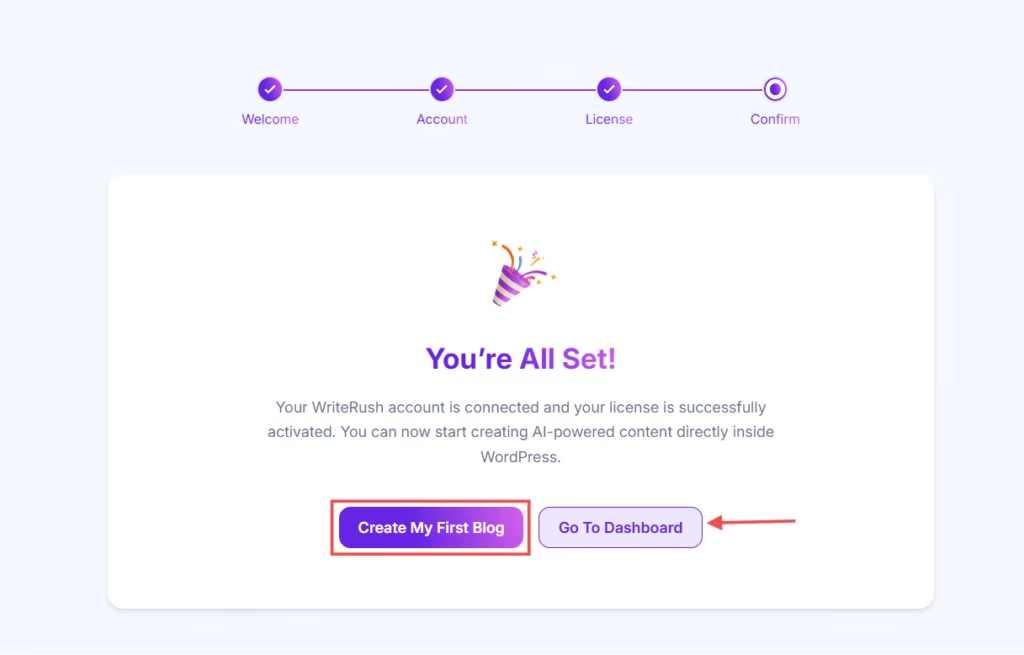
- Once everything is set up, you will see a confirmation message. You can then start creating your first blog or navigate to the dashboard.
Now that WriteRush is successfully activated, let’s dive into creating your first blog using the plugin.


