If AI makes blog writing feel almost too easy, the real challenge comes when you try to get those shiny drafts published. Maybe you’ve copied text from your favorite AI tool into WordPress, only to fix clunky formatting, scramble for a meta description, or realize you forgot to set the publish date. Or worse—an AI draft felt rushed, robotic, or not quite “you,” risking your readers’ trust and your Google rankings.
You’re not alone. So many bloggers, marketers, and business owners run into the messy gap between “auto-generated draft” and a polished, scheduled blog post that’s ready to bring in real traffic. But there’s a better way. In this guide, you’ll learn exactly how to schedule and publish AI-generated blog content—complete with human review, SEO, and WordPress know-how—so your next post is both quick and top quality.
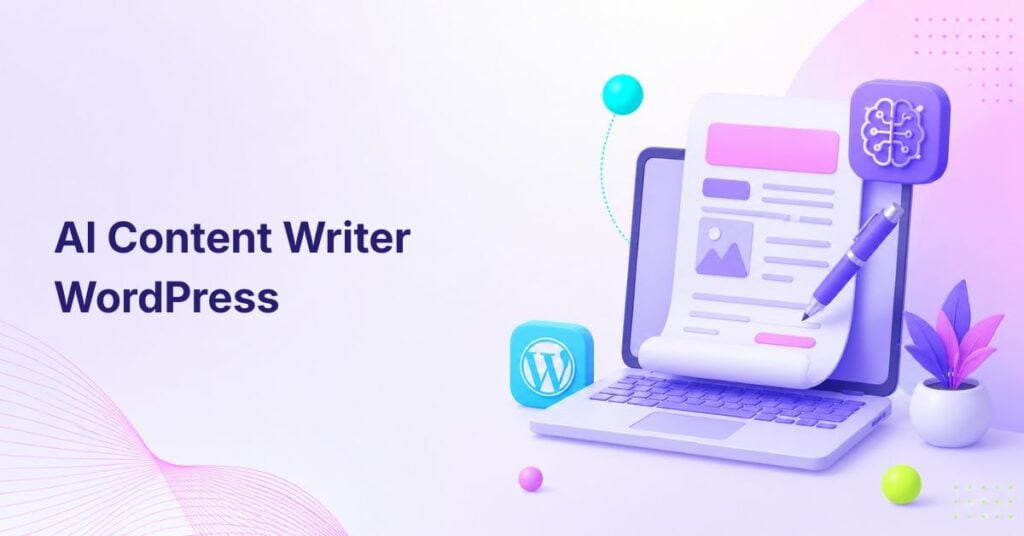
What Is AI-Generated Blog Content?
AI-generated blog content refers to articles, drafts, or outlines created with an AI writing tool or language model, then formatted, reviewed, and published on a blog or website. This content often includes blog posts, meta descriptions, SEO briefs, or topic clusters, with humans guiding prompts and editing for quality and accuracy.
Put simply, AI-generated blog content is any blog material created (at least partly) by artificial intelligence, rather than written entirely by a human from scratch. However, for successful publishing, it’s key to treat AI as an assistant—not a replacement—by adding human fact-checking, original examples, clear formatting, and your brand’s voice before the content goes live.
What You’ll Need Before Scheduling AI-Generated Blog Content
To schedule and publish AI-generated blog posts efficiently, gather the following:
- A clear topic, target keyword, and understanding of your audience’s intent
- A content brief outlining structure, voice, and needed links
- An AI writing assistant (like WriteRush) or plugin to draft content
- WordPress (or your preferred CMS) access and familiarity
- Approval and review checklist for brand quality, SEO, and accuracy
A prepared setup helps you move from draft to published post faster and with less stress, allowing automation where it makes sense while still keeping human oversight.
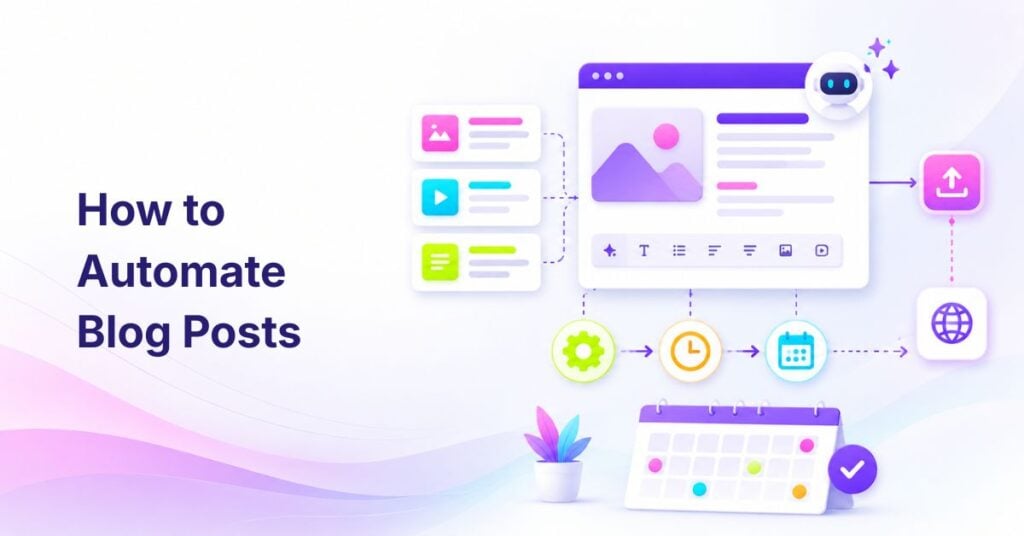
Plan Your AI Blog Content Calendar
A content calendar ensures your AI-generated posts aren’t scattered or off-message. It keeps publishing on track with your goals, search intent, and audience needs.
To do this well:
- List your main topics—think “pillar” articles and clusters of related posts.
- Define publishing cadence based on your resources and business goals.
- Balance evergreen and timely topics so you can react to trends but still build lasting value.
| Publishing Goal | Suggested Cadence |
|---|---|
| New blog | 1 post per week |
| Growing SEO site | 2–3 posts per week |
| Business blog | 4–8 posts per month |
| Programmatic content | Batch with strict review |
A reliable calendar saves you from last-minute scrambling and helps keep your blog’s momentum steady, which Google and readers both love.
Generate a Blog Draft with AI
A good draft starts with a focused outline and a strong prompt. AI tools (like WriteRush) thrive when given clear guidance on the topic, keyword, target audience, and brand voice you want.
Steps to generate a strong AI draft:
- Create a detailed brief: Include your title, main keyword, target reader, and headings.
- Start with an outline: Ask your AI tool for an outline first—this ensures the post hits the right structure and search intent.
- Expand with specifics: Provide examples, references, or key points to make the output less generic.
- Use the AI assistant as a draft partner: Let the tool write paragraphs or sections, but expect to add your own voice later.
By treating AI as a drafting tool—rather than a one-click publishing engine—you get drafts that are 80% there, ready for your finishing touch.
Review and Edit the AI-Generated Draft
Before any AI-generated content is scheduled, a thorough human review is vital for quality and credibility.
Key editing steps:
- Fact-check every claim: Verify statistics, names, and instructions.
- Add personal insight: Insert real-world examples or anecdotes.
- Remove repetition and generic language: Polish up robotic or vague phrasing.
- Optimize readability: Aim for short paragraphs, clear headings, and bullet points.
- Align with brand voice: Adjust tone and language to fit your style.
Quick Tip: Use an editorial checklist like the one below to cover all bases.
| Check | Why It Matters |
|---|---|
| Accuracy | Prevents misleading info |
| Originality | Ensures unique value |
| Search intent | Matches what readers want |
| Brand voice | Builds trust and personality |
| Internal links | Boosts SEO and context |
| Metadata | Supports search visibility |
This step is where your post shifts from “machine-generated” to “human-approved,” ready for a wider audience.
Optimize the Post for SEO Before Scheduling
SEO optimization helps your AI-generated post rank well and attract readers. The most important areas:
- Meta title and description: Concise, keyword-rich, and enticing.
- URL slug: Short, clean, and includes your main keyword.
- Heading structure (H2/H3): Logical and easy to scan.
- Keyword placement: Natural usage in introduction, headings, and throughout content.
- Internal and external links: Point to relevant resources and related articles.
- Image alt text: Descriptive for every image or screenshot.
- FAQ section: Addresses common reader questions.
- Schema markup: Optional, for featured snippets or rich results.
Pro Tip: WordPress SEO plugins like Yoast or Rank Math can help check these steps before you hit “schedule.”
Format the AI Blog Post for Publishing
Clean formatting makes your post engaging and reader-friendly:
- Use short paragraphs and subheadings for scannability.
- Add bullet points or tables for lists and comparisons.
- Insert screenshots, relevant images, and a featured image.
- Write clear calls to action (CTA) that guide the reader’s next step.
- Assign author, categories, and tags appropriately.
- Preview your post on desktop and mobile to catch any display issues.
A well-formatted post builds credibility and keeps bounce rates low.
Schedule AI-Generated Blog Content in WordPress
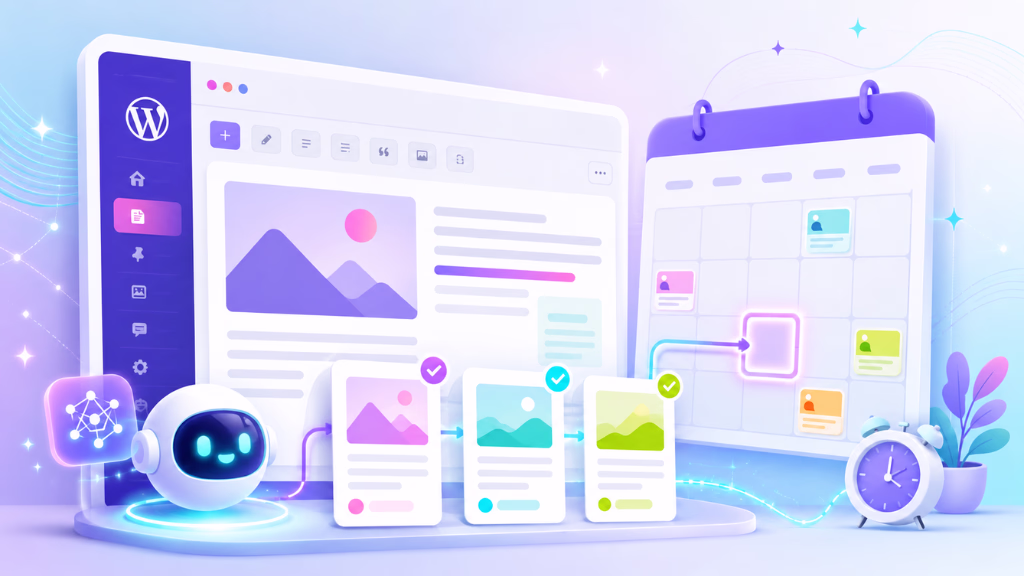
Method 1: Schedule Manually in WordPress
Open the WordPress dashboard:
- Go to Posts > Add New.
- Add your AI-generated content, including the title, slug, categories, tags, and featured image.
- Fill out SEO metadata fields.
- In the “Publish” panel, click the date/time option, select your future publish date, and confirm the time zone.
- Click Schedule.
- Your post will now show up under “Scheduled,” going live automatically at your chosen time.
Method 2: Use a WordPress AI Plugin
If you use a WordPress AI plugin (such as WriteRush), you can draft, edit, and refine content directly in the editor—streamlining formatting, SEO, and scheduling in one place. This reduces copy-paste work and keeps your workflow tidy.
Method 3: Use Automation Tools
For batch scheduling or higher volume:
- Use tools like Zapier, Make, or the WordPress REST API to move reviewed drafts into WordPress.
- Always keep a human-in-the-loop for approval before automation publishes anything live, especially for sensitive or technical subjects.
By staying organized and using the tools that fit your workflow, scheduling becomes a controlled, predictable process.
Should You Auto-Publish AI-Generated Blog Posts?
While it’s possible to fully automate AI content publishing, it’s almost never wise to skip the human review. Automation should help with repetitive tasks—like formatting or scheduling—not bypass editorial standards.
Posts about legal, medical, financial, or reputation-sensitive topics must always have a human editor step in before they’re published. The safest approach is:
- AI generates the draft
- Human reviews, edits, and approves
- WordPress schedules the post automatically
This way, you get the best of both speed and quality control.
Best Practices for Scheduling AI Blog Content
To make the most of AI-assisted publishing, keep these best practices in mind:
- Publish new content at a consistent, manageable cadence (e.g., weekly or biweekly).
- Batch-create content but stagger your publish dates so you don’t flood your site.
- Set aside time for timely or trending topics.
- Account for your audience’s time zones.
- Continually update or refresh published posts to keep them accurate.
- Use topic clusters for stronger SEO and internal linking.
- Don’t sacrifice quality for speed—each post should be helpful and original.
Sticking to these principles means your blog grows steadily in both trust and search performance.
Common Mistakes to Avoid
Avoid these pitfalls when scheduling and publishing AI-generated content:
- Publishing raw, unedited drafts that lack depth or originality.
- Skipping fact-checking or failing to satisfy real search intent.
- Forgetting SEO details like meta tags, slugs, and internal links.
- Posting too many articles at once, especially if quality control slips.
- Using generic titles, introductions, or keyword-stuffed content.
- Missing formatting checks: always preview on both desktop and mobile.
- Not monitoring blog performance after posts go live.
- Over-automating without a human in the loop.
- Neglecting updates for outdated information or new FAQs.
The editorial process—no matter how fast AI makes the first draft—remains the backbone of trustworthy publishing.
AI Blog Publishing Checklist
Before you schedule your AI-generated blog post, confirm:
- The topic serves a real audience need and matches search intent.
- All facts, statistics, and quotes are verified.
- The post includes a clear title, concise slug, and logical headings.
- Original insights or expertise are added beyond AI output.
- Internal and external links are relevant and present.
- Images include descriptive alt text.
- SEO meta title and description fields are complete.
- The post is assigned the correct category and tags.
- A featured image is set.
- You’ve previewed the post on desktop and mobile.
- A human editor approved the final draft.
- The publish date and time are accurate.
Tools like WriteRush can assist in drafting and optimizing, but WordPress—plus your own editorial process—should confirm the post is truly ready.
How to Track Performance After Publishing
Your publishing job isn’t over after hitting “Schedule.” Monitoring is essential:
- Use Google Search Console to check whether the page is indexed, see impressions, clicks, and position.
- Monitor Google Analytics (GA4) for organic traffic, engagement, conversions, and scroll depth.
- Note new queries the page appears for and find chances to add more internal links.
- Schedule regular content refreshes for outdated data, tool changes, or new FAQs.
Paying attention to these metrics helps you improve old posts, plan future topics, and maximize your blog’s value over time.
Conclusion
AI brings unprecedented speed to blogging, but the difference between traffic and tumbleweeds is how you turn a draft into a real, reliable post. The smartest workflow combines AI’s strengths—fast outlining, quick drafts, SEO guidance—with your own editorial judgment and the publishing power of WordPress. Stick to a structured process: plan, draft, review, optimize, format, schedule, and track. Tools like WriteRush can streamline the drafting and editing stages, letting you focus on what matters—making every published post count for your audience and your goals.
Ready to turn AI drafts into standout blog content? Explore how WriteRush can fit into your publishing workflow today.
FAQs
Can I publish AI-generated blog posts on my website?
Yes, but you should always review, fact-check, and edit AI-generated content before publishing to ensure accuracy, relevance, and brand alignment.
Does Google penalize AI-generated blog content?
No—Google doesn’t penalize content just for being AI-generated. What matters is that your content is helpful, original, and written for humans, not just for search engines.
How do I schedule AI-generated blog posts in WordPress?
Add the draft (either manually or via a plugin) to WordPress, complete all metadata, assign categories and tags, then use the schedule option in the publish panel to select a future date and time.
Should I auto-publish AI-generated content without review?
It’s risky to publish AI drafts without human review. Errors, outdated info, or misaligned brand voice can harm your credibility. Always have an editorial approval step first.
How can I optimize AI-generated blog posts for SEO?
Focus on strong meta titles and descriptions, logical heading structure, natural keyword placement, internal and external links, and readable formatting. Use SEO plugins to double-check before publishing.
How often should I publish AI-generated blog content?
Quality and consistency matter more than volume. A realistic cadence is one post per week, or four to eight per month for business blogs, adjusted to your resources and audience needs.
What tools can help with drafting, reviewing, and scheduling AI blog posts?
AI content tools like WriteRush assist with drafting and optimization. Use WordPress for formatting and scheduling, alongside plugins like Yoast SEO or Rank Math for SEO refinement.
What steps should I follow after publishing a blog post?
Monitor indexing and rankings in Google Search Console, track user engagement in GA4, update content as needed, and repurpose posts into other formats like newsletters or social posts.
Can I bulk schedule AI-generated blog posts?
Yes, but each post should go through a proper review and optimization process before being scheduled in batches to maintain quality standards.
This page was last edited on 16 June 2026, at 3:55 pm